Sunday, April 15, 2012

Random.. a painting

by Jo Reimer
Random
acrylic on paper
22x30"

This is what happened recently when I set out to paint with absolutely no intention other than to use complementary colors, in this case orange and blue. I chose lines and circles with grid lines and just kept painting until the composition came together. At first I called it ugly but after looking at it for a few days I find I quite like it. But for sure I prefer to paint with some realistic thing in mind... landscape, flowers, still life... although with my surface design and quilting background the geometry of pure design continues to pop out of me now and then.

Wednesday, April 11, 2012

Seeking Levels

by Jo Reimer

At the Edge of the Earth
11" x 30"
Collage on paper
Getting horizontal and vertical lines straight is a challenge, when you're aiming for straight and true.

Once this piece was completed I discovered that the stitched line, while straight, wasn't plumb with the top and bottom. Big oops. The only solution at this point was to trim the sides slightly to bring everything into alignment. I've done this before and I'll probably make the same mistake again but now that I'm aware of why I keep doing it I'll take steps to avoid the issue.

"How?", you ask.
  1. I'll use my T-square more often and make little pencil marks here and there  as I work to assure things line up instead of eyeballing it.
  2. Since I work flat I'll frequently pin the collage to the design wall or put it on the easel to check that things are straight.
  3. I'll avoid working with absolute parallels... loosen up.
  4. I'll use more slightly off-kilter edges... on purpose.
So, now that that's settled, here are some detail shots and an explanation, for those who are interested in the process:

At the Edge of the Earth, detail
This collage was done on half a sheet of watercolor paper, Fabriano Artistico 140#. I used a section of one of my small paintings  as the focal area and adhered it with soft gel medium and weighted it until dry. Then I started adding paint.

I wanted texture at the bottom and chose to use some paint spattered paper towels. I didn't like the results but was committed so I troweled a couple of layers of gel medium over that section, letting each layer dry between coats. Then I worked into the space with several different earthy sandy colors plus white until I had the visual texture I needed. That process is easier using a scraper and a sponge rather than a brush.


Next came the sky area. I flooded the space with cobalt blue acrylic, thinned with Golden glazing liquid, and squished plastic wrap on top and left that to dry for several hours. This technique always results in something wonderful but unpredictable.

I needed contrast and a repetition of black line, hence the stitching. The piece was so thick by this time that I had to use an awl to punch holes for my needle.


And still the piece needed more. Aha... text. I composed a paragraph about standing at the edge of the ocean and practiced writing it on tissue with various pens and auditioning the look of it on the painting without committing pen to painting. but I didn't like the look. So, I headed to the computer and generated the text and printed it out on a thin, cream-colored washi paper and glued that down. While it was wet I flooded more matte medium over the washi to help it sink into the work. The paper isn't perfectly hidden but is fairly un-noticeable unless you're looking closely.

Sunday, April 08, 2012

Easter Morning

by Jo Reimer

Victorious
Sermon Note by Jo Reimer
Now for the rest of the story...

Pilate gave the order to seal Jesus' tomb and to station a guard there to ensure that no one broke in and stole his body.

After the Sabbath and after Passover two women named Mary, followers of Jesus, went to the place of burial and found the tomb empty, the stone rolled back from the entrance. Angels appeared to them and told them that Jesus had risen from the dead as he had predicted They saw the place where his body had been laid, now empty except for strips of the burial linens.

This is said to be the place in the tomb where Jesus' body was laid.

Later that day and in the weeks following Jesus appeared to many people, walking and eating with them, and they came to understand  the Scriptures, that which was written centuries before, that the Son of God, the Messiah, would come to earth, be crucified and be buried, and rise to live again, paying the penalty for the sinfulness of all who believe.

Although Jesus had told his followers about the events that would happen both before and after his death they did not understand. How can a man die and then live again? But now here was Jesus, walking and talking, in the flesh, and they understood and believed.

Many people witnessed these events as Jesus appeared to individuals and to crowds in the weeks following his death and resurrection.
This is why we celebrate Easter, not as a rite of spring, or a time for new clothes and hunting for colored eggs, but because of God's great sacrifice for all of earth's people.

I hope today will be joyful as you celebrate with family and friends.

Friday, April 06, 2012

Good Friday.

by Jo Reimer
Sermon Note by Jo Reimer
What's so good about Good Friday?

Perhaps it seems strange to celebrate a man's death, especially by crucifiction which is possibly the most painful death imaginable. Mobs of otherwise normal men and women stood around screaming, "crucify him, crucify him"... and they did. If you've read the accounts of Jesus' death in the Bible or seen The Passion of the Christ you have an idea of the emotions whirling around Jerusalem that day as Jesus was  arrested, tried, sentenced to death, and then paraded through town carrying the heavy cross-member of his own cross.

Sermon Note by Jo Reimer

And when they got to the place of death he was nailed to that cross where he hung for hours until he finally died. But then strange things started happening: the sky turned black as night and the earth trembled, tombs broke open and dead people came to life.
Sermon Note by Jo Reimer

...while back in the city inside the Jewish Temple the 7" thick veil that separated the holiest place from the ordinary people split down the middle. This enormous felted woolen tapestry split from the top down! and people had access into the holy place. 

Terror stalked Jerusalem that morning...

People who loved Jesus took his body down and buried in a wealthy friend's grave, a cave in the side of the hill, and an enormous flat stone was rolled over the grave opening.

(This is a tomb in a hillside in Jerusalem which many think is the actual tomb of Jesus. Perhaps it is. )

Family and friends wept.  That Friday didn't seem so good to them.

But to those who know the rest of the story the events of that day we now call Good Friday began a weekend to remember and an event which we look upon as the most important time in history, when the Son of God died in our place, bearing punishment so we won't have to, paying the ultimate sacrifice for us.

And then comes Easter.

Tuesday, April 03, 2012

Watercolor and Foil on Text

by Jo Reimer


I've seen several examples of watercolor and drawings done on top of the text in old books so I decided to try my hand at it after reading Jane Fazio's post this morning. My first attempt wasn't the greatest but it lead to another discovery... using foil with watercolor, a lemons into lemonade experience.

I used paint straight out of a tube of M. Graham watercolor which had sat too long and had a bunch of sticky honey right at the top. I was working too quickly and didn't notice the honey until it was on the paper. When it refused to dry right away I  looked around for a solution, something to soak up the stickiness or to cover it.  I grabbed a sheet of foil, the sort used by rubberstampers and surface designers, and applied it to the image. This left sparkles of foil on the petals of the flower. Pretty in person but it doesn't show up in the scan where it looks like black blobs. Metallics don't photograph well because of the way they reflect the light.

Following Jane's example I cut around the drawn and painted image and glued it into my journal. Now I'm thinking that I'll keep an old book handy and take a few minutes here and there during my day to sketch something and add watercolor later so I'll have all this wonderful material available for other uses. It'll refine my drawing and observation skills and give me another opportunity to record the beauty of my days.

The book page I worked on had glossy paper which didn't take the color well. Use uncoated paper pages.

If you don't have sticky watercolor paint just rub a glue stick across your drawing and apply foil to that. Experiment first so you'll know at what point in the drying stage is best to apply the foil.

You can draw with liquid glue and then foil that. Have fun and tell me about your successes and failures.

Go here for more information on using glue and foil. Jones Tones makes glue and foil which is available at craft stores.


Monday, March 26, 2012

Girl to 5-F, collage

by Jo Reimer
The Girl to 5-F
11.5 X 30"
collage on heavy paper

Following a troubling discussion about human trafficking I spent a good part of the next day thinking about this abhorant practice, imagining myself in the shoes of a woman caught up in this trade. This piece is the result.

Girl to 5-F, detail

There are ways out and people who are working to combat the practice but it feels like a drop in the bucket... so alien to the culture in which I live. I thank God for my life and beg for mercy for those who are mired in it.  Read here about organizations which strive to combat human trafficking.

The collage papers used in "Girl to 5-F" are representative: decay, filth, sin, loss, oppression, desire, need, hopelessness...  hidden underneath a beautiful facade.  There are floor numbers, windows and doors, a man on the phone, a woman climbing the stairs...  hidden and implied meaning.

Not all art is beautiful or about beautiful things.

Thursday, March 15, 2012

First Sign of Spring


by Jo Reimer

"First Sign of Spring"
Collage
20" x 20"

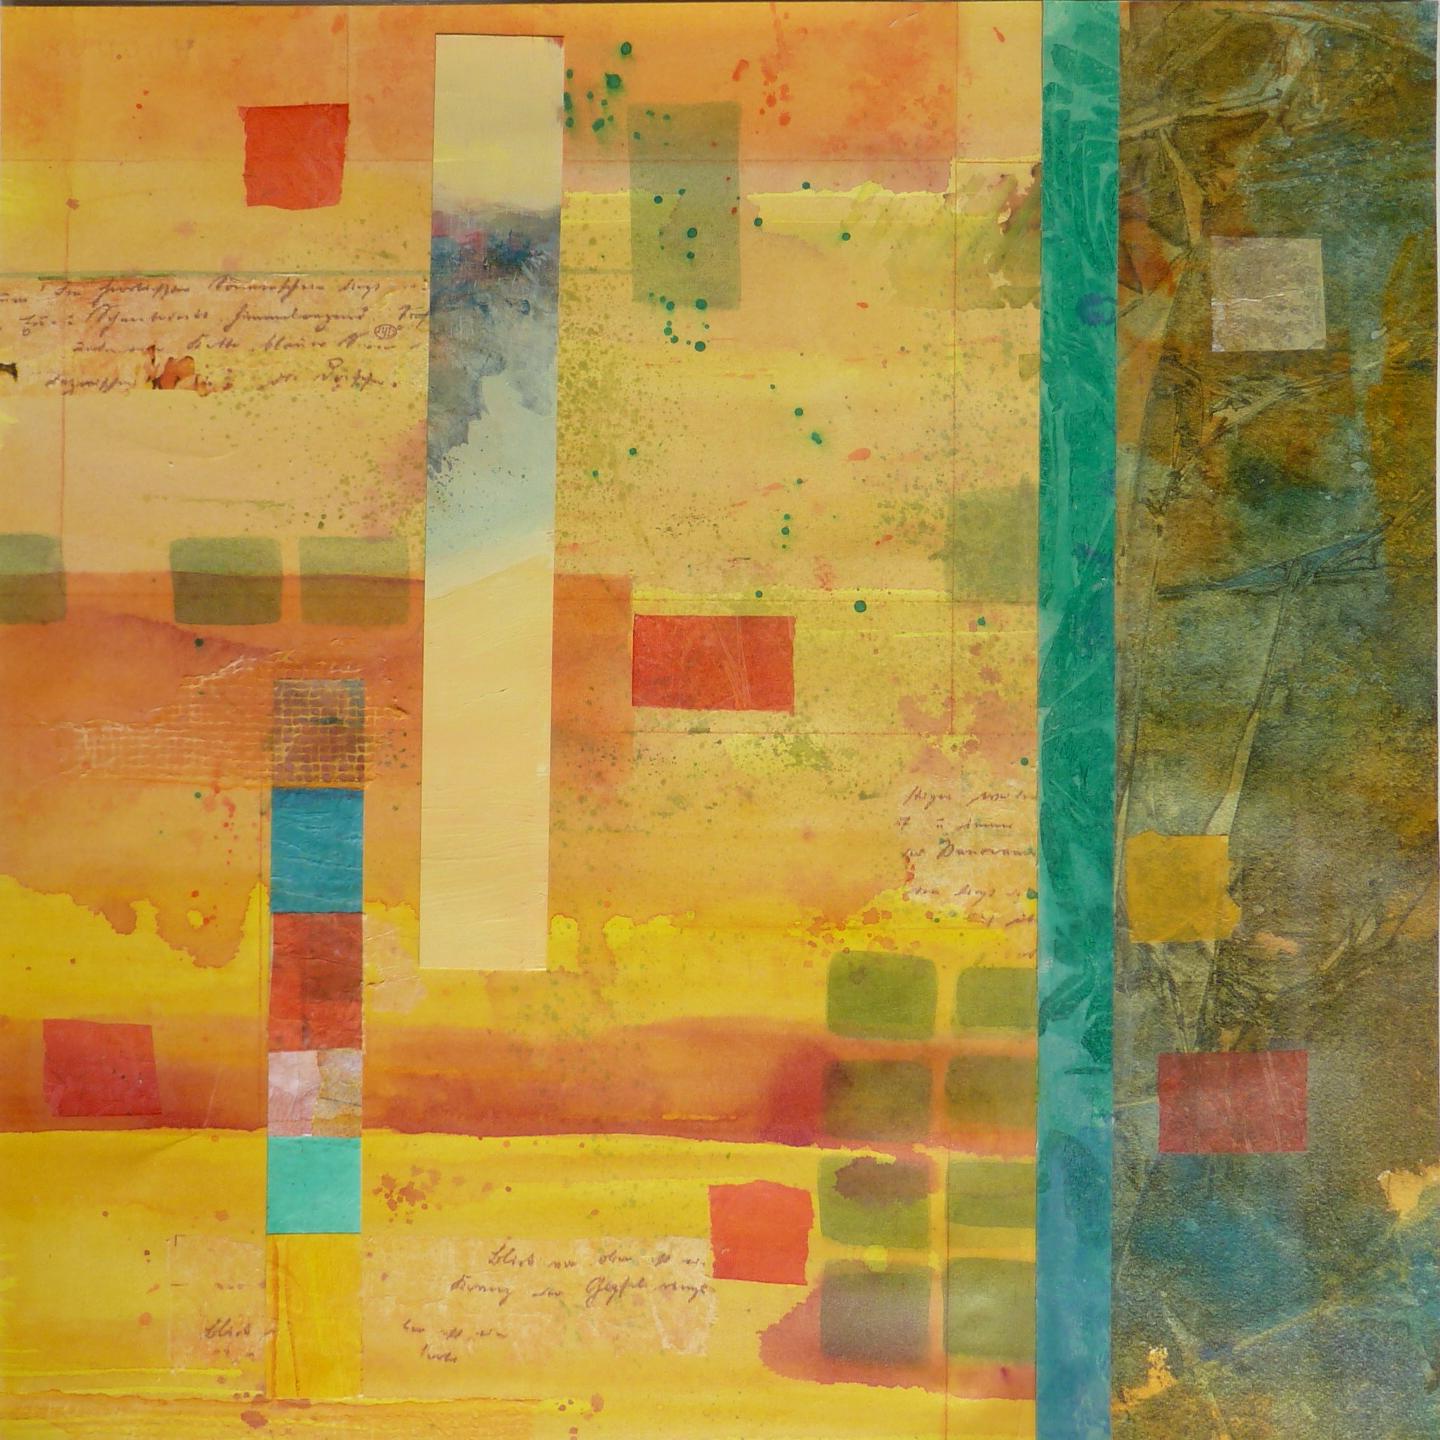
It's interesting to see where my "Piecings" and "Slices" series are taking me. I think it's actually one series. There's no direct painting on this piece; it's made up of slices of other paintings that weren't worthy in themselves but as an assembly of parts the whole has become quite strong.

I find myself struggling with establishing a process for these pieces, mostly having to do with mounting. I've been working mostly on 140# watercolor paper as a substrate which starts to buckle as layers are joined, and then wrestling with the completed work to attach it to a firm support... so I'm finding ways to reduce the buckling in the beginning. Using a stronger support is one way to keep the work flat, adhering the base paper to mat board or acid free foamcore or even wood panels. I think there'll be fewer struggles if I start with a firm substrate, glue the base papers to that and then continue to layer whatever papers I need for the collage. I could start with 300# paper or illustration board or heavy Yupo, all of which hold their shape well.

I'm open to suggestions.

Tuesday, March 13, 2012

Collage: Another Slice of Life

by Jo Reimer
950 Kapaa
Collage on Paper
11" x 30"
For this collage I used mostly my own handpainted papers. The paper with the numbers was discarded on the road outside our beach retreat a few years ago when our family went to Hawaii to celebrate a significant anniversary. It's such a useful bit of paper that I think I'll repeat the idea using number stencils and significant number combinations such as house numbers, birthdates, anniversaries. I think it's important to mine ones' own life for symbolism to use in ones' art... a post for another day.

Thursday, March 01, 2012

Sliver of Landscape

by Jo Reimer
Outback Red - sold
12" x 30"
collage on paper

I'm still working on the "Piecings" series (need a better name!). I started doodling in the margins of Sunday morning sermon note paper, drawing skinny rectangles and imaging them as slivers of landscape as seen through narrow windows or the arrow slots in medieval castle battlements, with the view divided into sky, forests or crops, and the land below.

detail
I continued drawing these compositions, eventually thinking of them as collages, pieced together from paper and maybe even fabric.

This is the first Sliver. I have another sliver on my easel and am chomping at the bit to get back to work.


Wednesday, February 22, 2012

Moleskine Reloaded

by Jo Reimer

Years ago I started carrying a small Moleskine Sketchbook in my handbag and used it to capture thoughts and sketches. At only 3.5" x 5.5" it fits just right in my handbag or jacket pocket. I like the sturdy cover, the built-in pocket inside the back cover and the little strap that marks my place or keeps my book closed. Now that I have a collection started I don't want to carry any other sketchbook.

But there's a problem.

The paper in the Moleskine Sketchbook is a creamy yellow and resists my watercolor paint. I put up with it through the first 3 books but then I ran across a tutorial by Martha, author of the blog, Trumpetvine Travels, called Moleskine Reloaded ...or, How to Rebind a Moleskine Notebook: Make a Custom DIY Sketchbook.

My problem was solved.

For the first one, my Israel Sketchbook, I gutted a full-priced sketchbook and reloaded it with papers of my choosing. I loved the new paper but it made an expensive sketchbook.

Then I got smart.

I found out-dated Moleskine Pocket Diarys online for one-fourth the price and ordered half a dozen so that when I gut the book I feel no guilt at messing up a perfectly good book.

The first step is to cut the book block out of it's cover. The first picture shows a pristine Pocket Diary and another one with the book block removed from its cover.

I use 2 sheets of Fabriano or Arches 90# watercolor paper and tear down the pages as Martha directs.
The papers are folded in half and one slipped into another to form a signature and holes are punched in the spine for the sewing.


Next comes the sewing of the 13 signatures using waxed linen thread.


Lastly I glued the front page to the inside front cover and the back page to the back cover, and let the glue dry.  My new sketchbook is ready to use. It looks just like the original but nicer around the edges. Instead of cutting the paper with machine to produce straight outer edges I tore my paper with my bone folder so that all the edges are deckled. I love the texture and it's so much more interesting.


I reserve the book block from the diary and keep it on my desk to use for notes, lists, reminders, ideas. The print is very faint and doesn't interfere with pen and ink. I've recycled all the bits and pieces of paper that once littered my desk.

When figure out how to make a video with my new Panasonic Lumix I'll show you my latest completed sketchbook.
Related Posts Plugin for WordPress, Blogger...