Something this much fun should be celebrated.
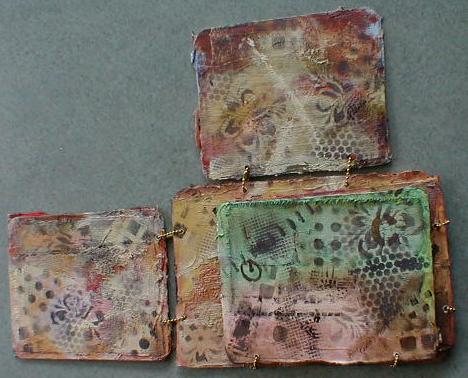
Crafts have a bad rap. I had forgotten how much fun I have using my technical skills in the studio. I’ve been busy as can be making another Remains of the Day art journal, this one about FOOD. As a former home economics teacher and a lifelong rather good cook (so my husband proclaims and he’s sticking to his story as long as it produces a few good meals every week) I have a love affair with good food, whether it comes from my kitchen, one of my friends’, or a favorite restaurant. It’s natural that I spend some time writing about the food in my life.
Once I decided to make a book about food I started collecting all sorts of related ephemera: labels from cans and bottles, recipes, photos, fabric, grocery bags and receipts, advertisements, and restaurant menus. I built my basic pages from menus and grocery bags and added all sorts of ephemera with my sewing machine. I typed a page of cooking terms and printed it on vellum which I then cut into strips and folded them in half to use to finish the edges of some of the pages.

Believe me, it’s addictive to make pages for these books but there’s a limit to the size of such a book since I’ll be adding writing and recipe cards and photos and it’s already quite fat at 22 pages divided between three signatures.
The cover is made from a Trader Joe’s paper bag. Both the cover and the inside of the cover were cut from one bag and a sturdy piece of light card stabilizes the inside. I did lots of machine sewing all over the cover and added handles from the same bag. That’s recycling, for sure. So far this book doesn’t have a tie but when it’s finished I may have to add something to keep it closed.

I work on my books at a rather small table which quickly becomes way too messy so I went hunting in the store room for something to corral the mess. I found a large tray that was once used in the darkroom, 2 small plastic boxes, a plastic shoe box, and a long drawer divider. The 2 small boxes (for small bits and labels) fit perfectly in the shoe box, leaving room at the back for larger paper to stand. And the space in front is large enough for magazines and full sheets of paper. Alongside the big tray is the long tray for strips of paper. And at my feet is my big cookie jar of ribbons and a tote full of fabric scraps.
Stay tuned. I intend to make a video of this book before long.

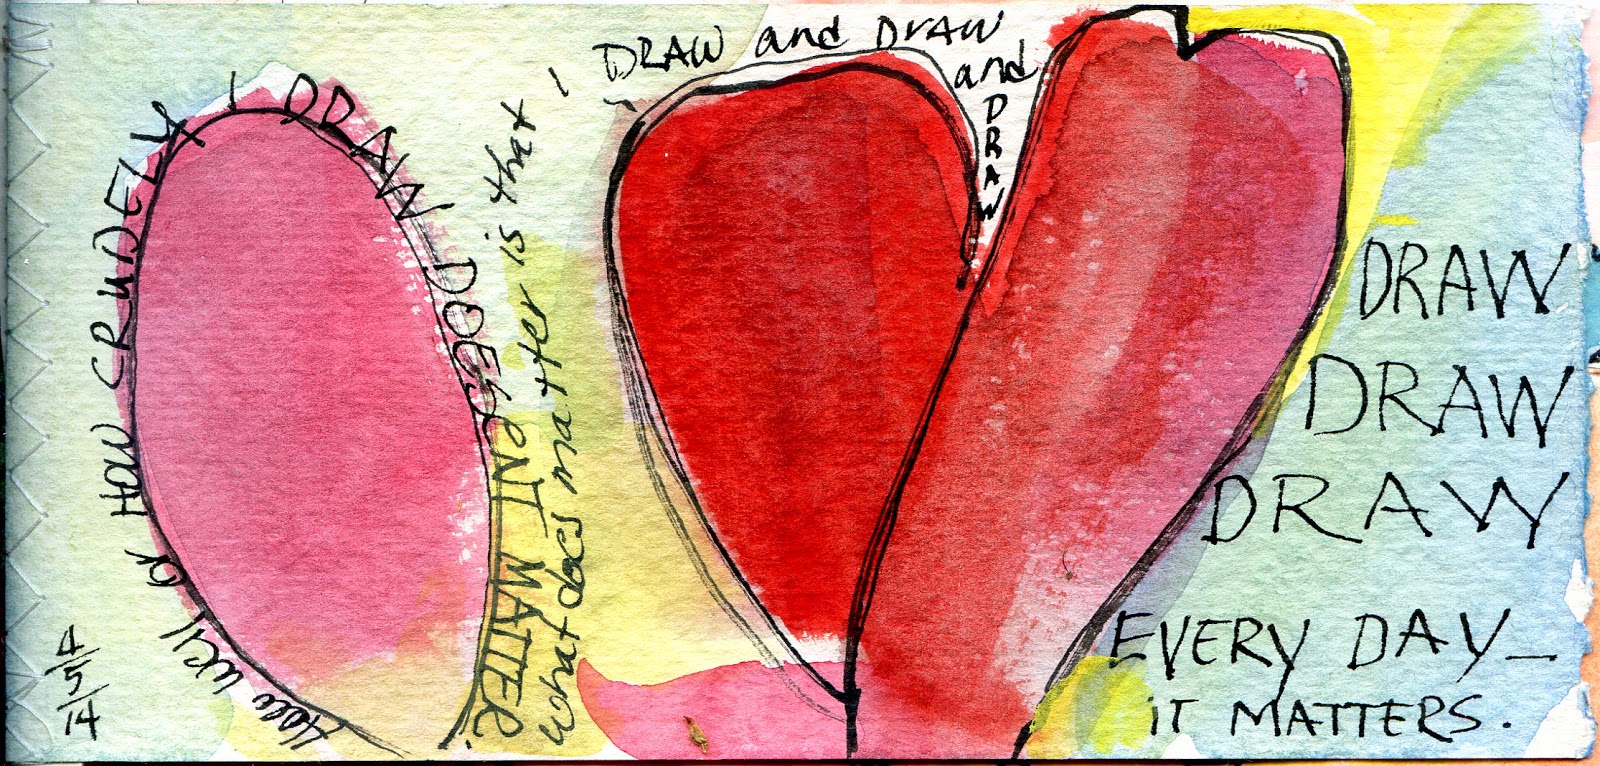 I'm working in an 8" square sketchbook I made. The pages are an assortment of watercolor papers, all shapes, sewn together to make nearly full sized pages. I save all my paper scraps as well as paper samples (waste not, want not) and this seemed to be a good use for them. Some papers work better than other. This first page is 7.5" x 3.5" and is sort of the introduction page.
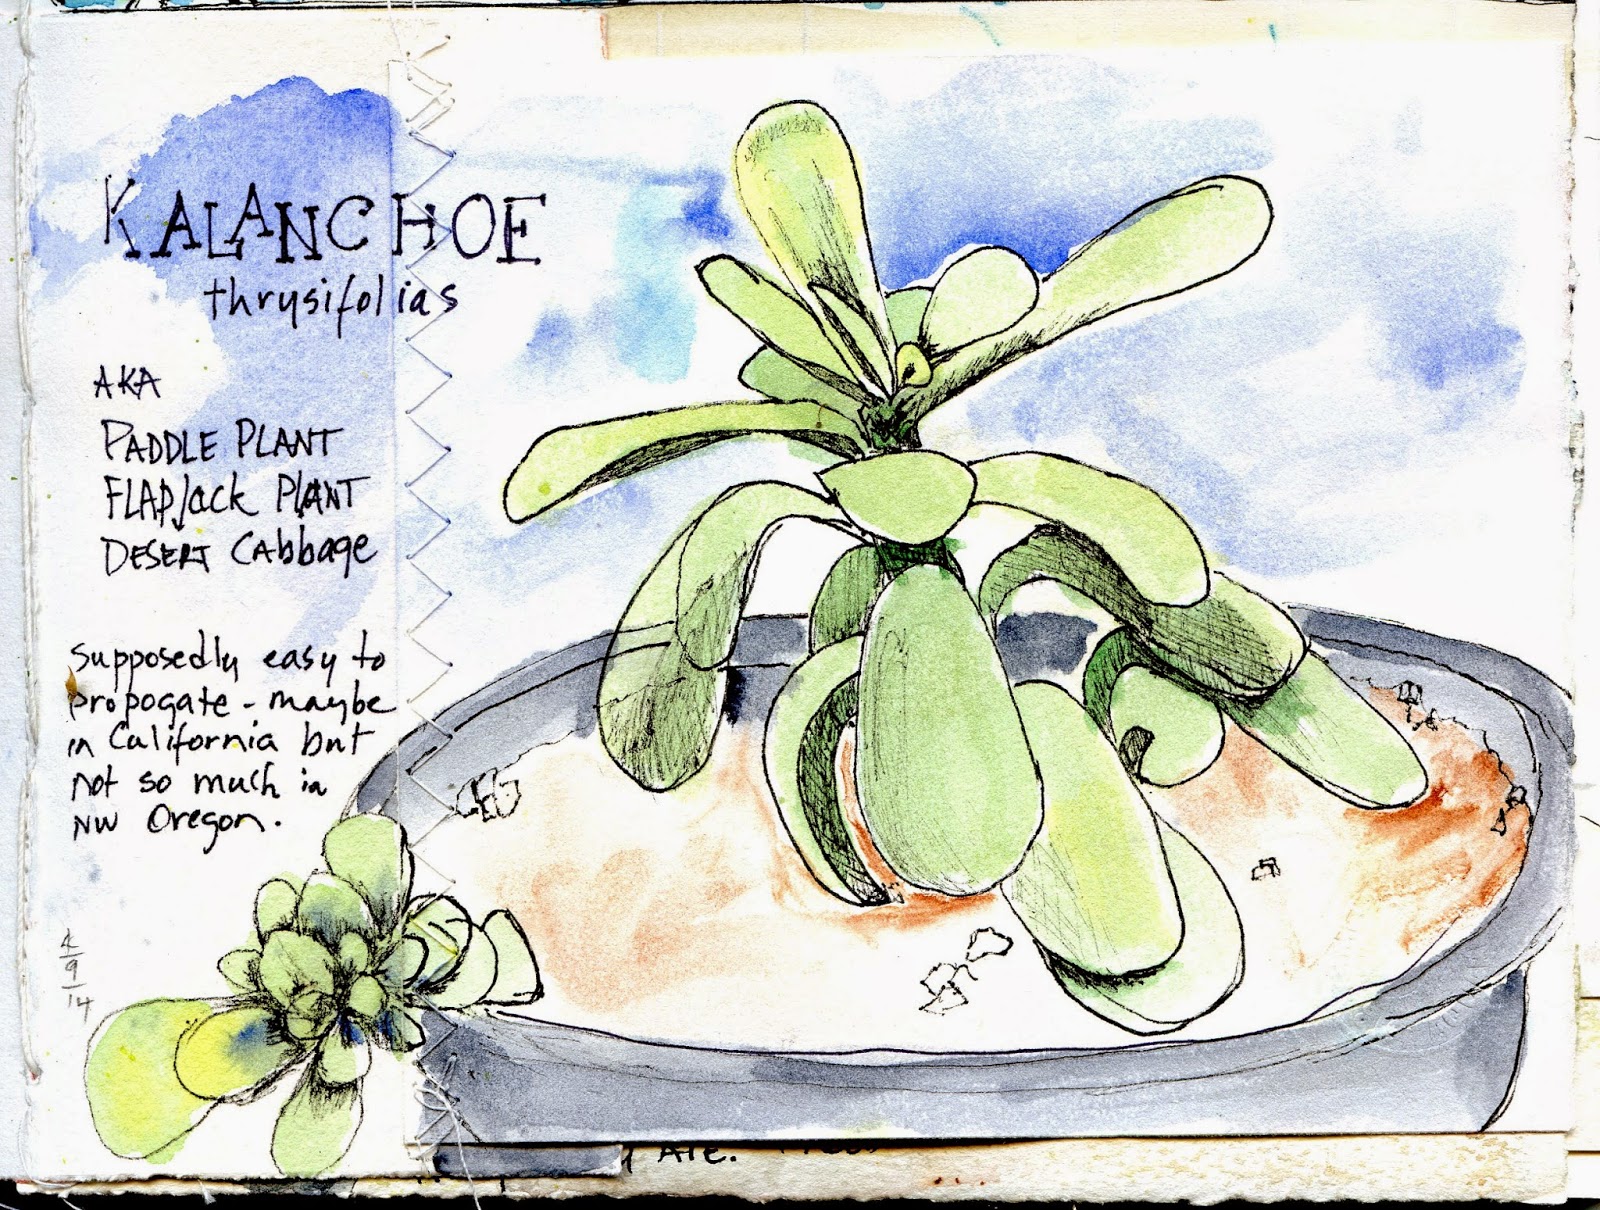 Perhaps you can get a better idea about the sewn together, pieced, pages in this example where the larger but shorter section on the right was zigzag stitched to the narrow piece on the left. I rather like the look.